How to cold mount

How to cold mount

Some prerequisites have to be taken into account before mounting takes place. These are essential to obtain a good mounting:


  • Clean the specimen. The specimen must be cleaned prior to mounting in order to improve adhesion of the mounting medium to the specimen. Use acetone or at least alcohol. Cleaning in an ultrasonic bath may be necessary. Remember to dry the specimen well. Clean specimens should be handled with either gloves or tweezers.
  • Adjust the specimen size to the mounting cup size.

Types of cold mounting

Two Types of Cold-Mounting Resins Are Available. Epoxy resins and acrylic resins

Epoxy Resins

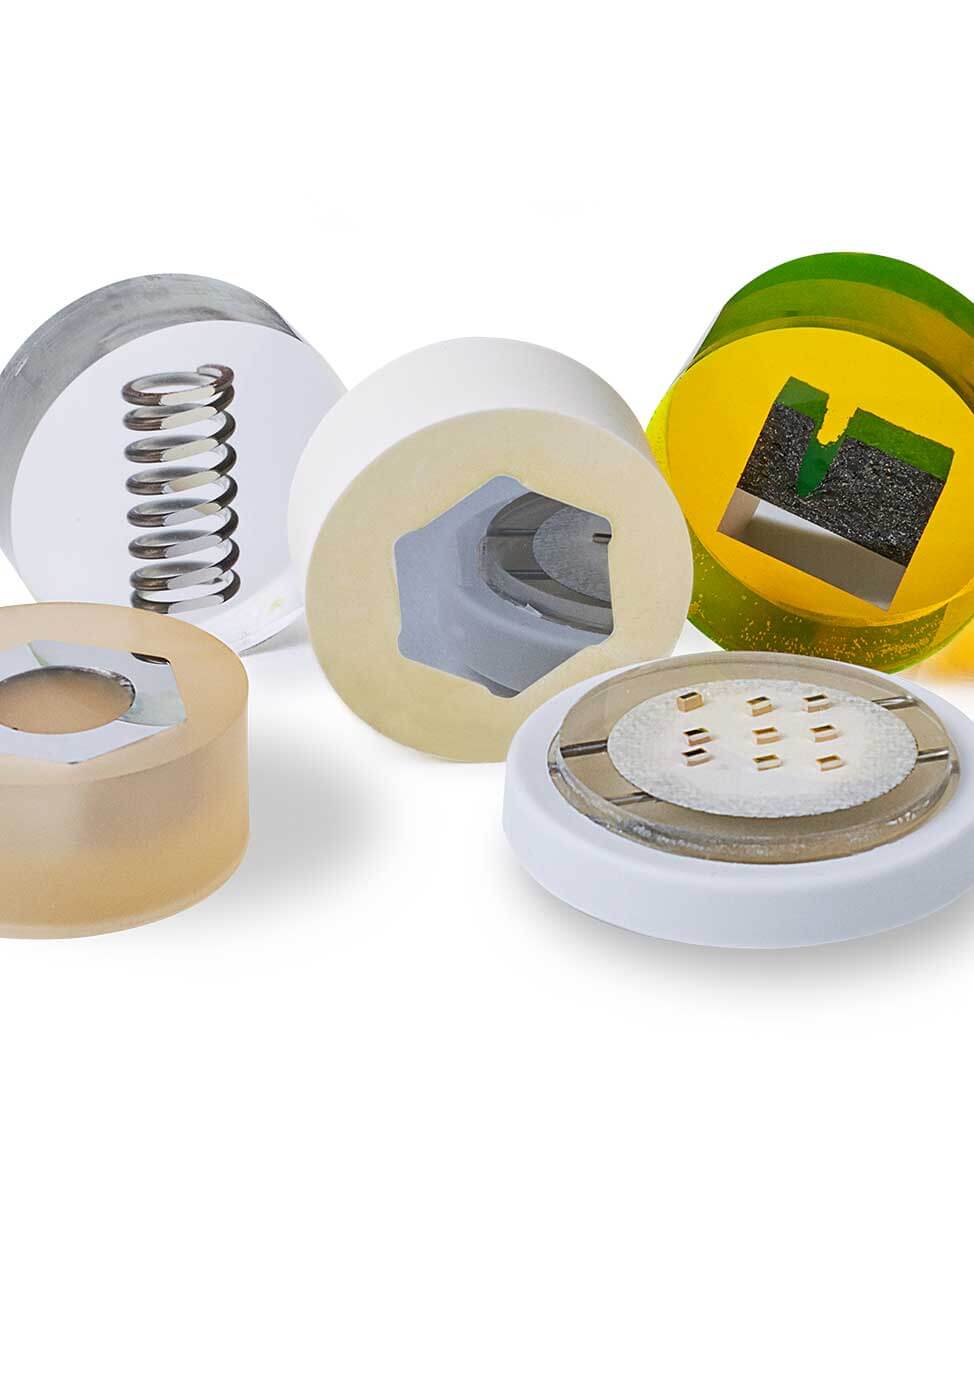
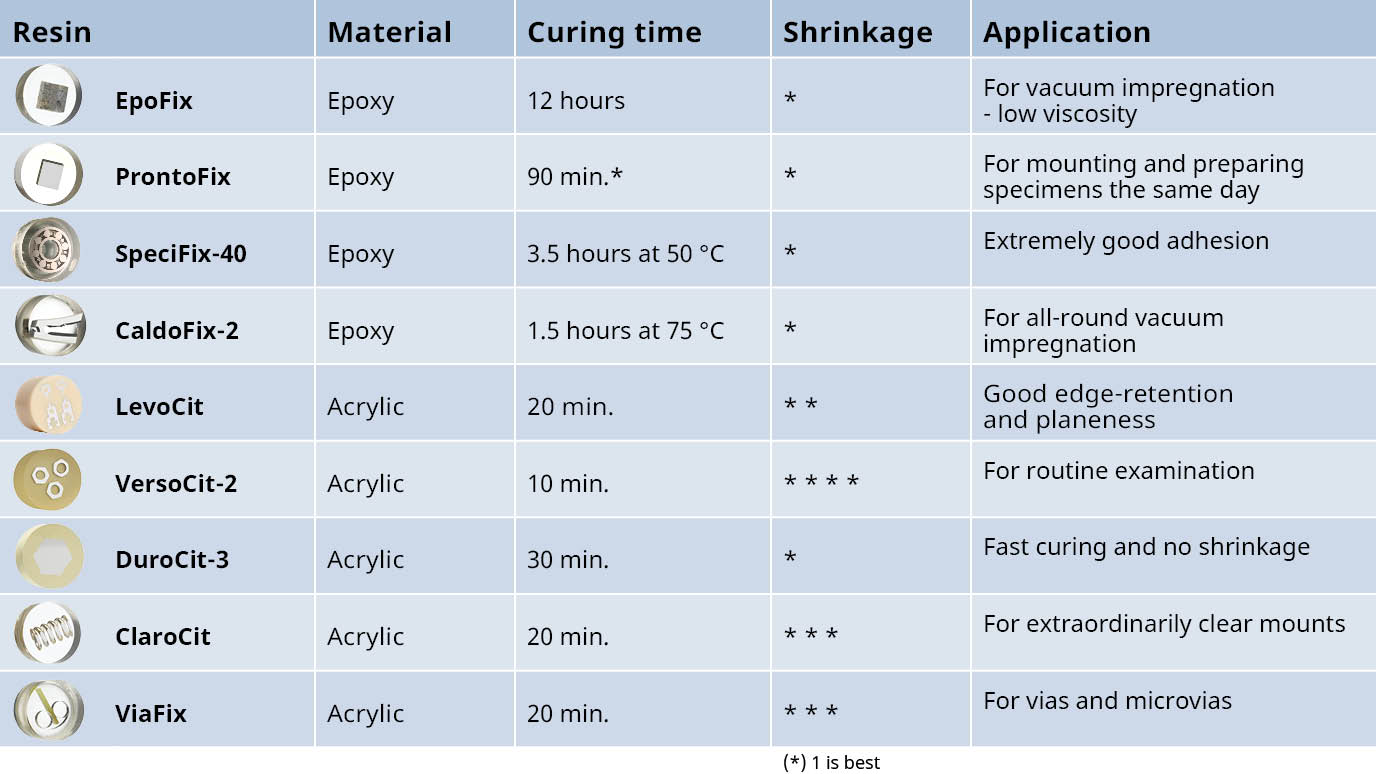
Epoxy resins are suitable for mounting of all types of materials and are especially recommended for vacuum impregnation. Epoxies have the lowest shrinkage of all cold-mounting resins. The curing time is relatively long, but adhesion to most materials is excellent. They polymerize through a chemical reaction after being mixed in the correct proportions. The hardened epoxy is duroplastic, and not affected by moderate heat or chemicals. Struers' epoxy systems consist of two components: a resin and a curing agent/hardener. Properties such as low vapor pressure, transparency, good adhesion, low viscosity, and no shrinkage are all specific to epoxies. As the stoichiometric resin:hardener ratio is critical; both parts should be weighed to obtain the best mounting result. If it is only possible to measure the amount by volume, use syringes to measure the quantities of resin and curing agent/hardener.

Play

Curing

The curing of epoxy systems depends on the amount of resin. With small amounts, the process may take longer because favorable conditions exist for removing excessive heat generated by the chemical reaction. Larger amounts of epoxy will, however, accelerate the curing process by storing heat due to the poor conductive properties of the system. Under certain conditions it is possible to experience peak temperatures of around 150-200° C/302-392° F. To avoid this and achieve more uniform mounting results, a dryer unit can be used to control the temperature during the curing process. The resin hardens by polymerization. Polymerization is a chemical reaction that generates heat. The heat will vary, depending on the type and quantity of the mounting medium. Some mounting media will develop temperatures significantly higher than 100° C.

Vacuum Impregnation

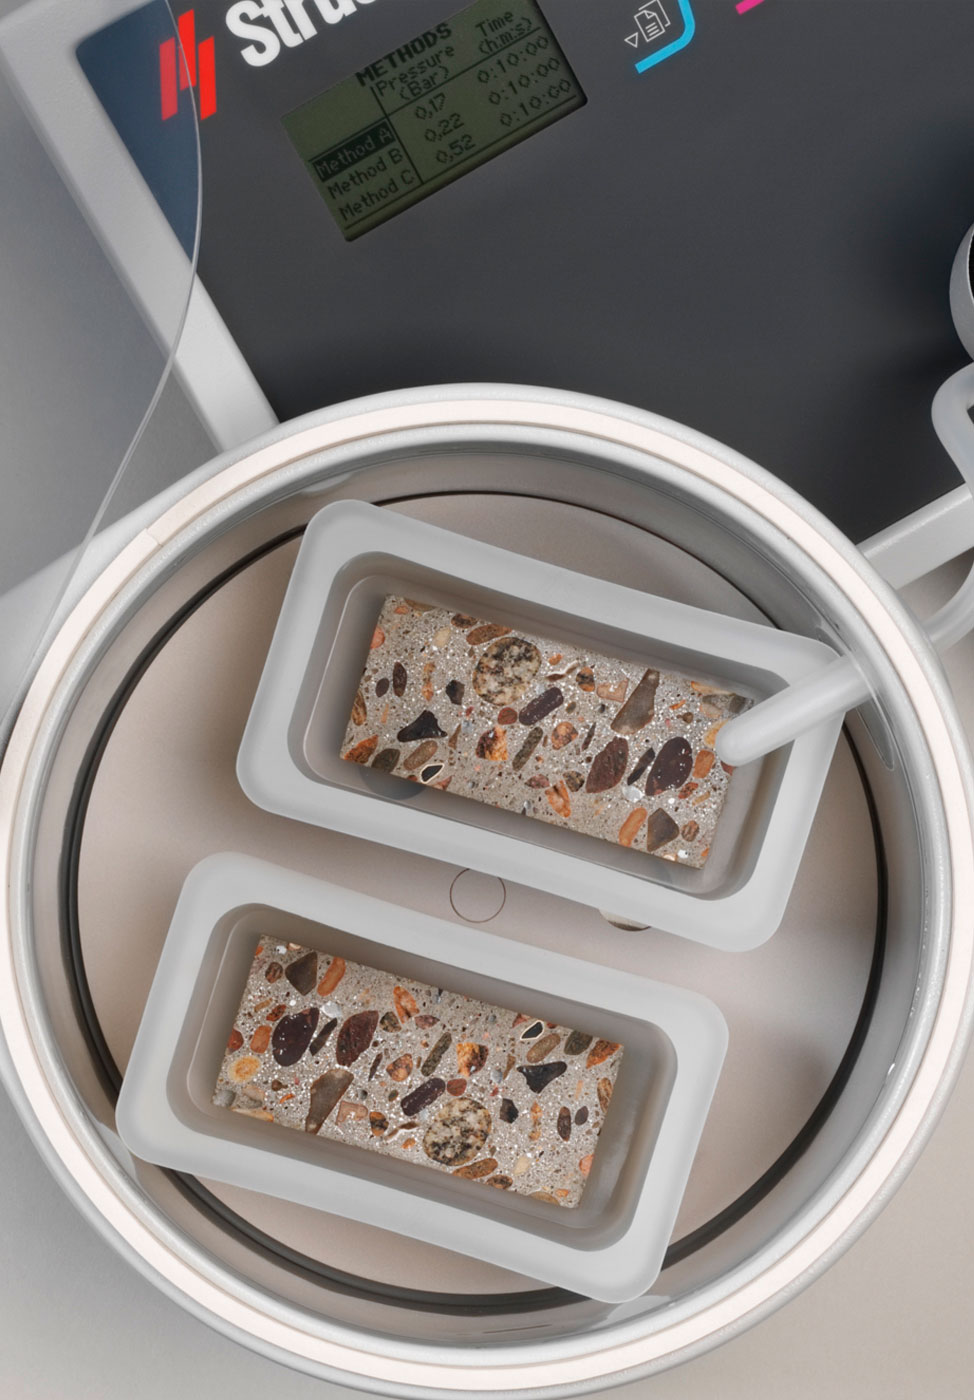
Porous materials, such as ceramics or sprayed coatings, require vacuum impregnation. Vacuum impregnation is carried out in a vacuum chamber at approx. 0.1-0.15 bar. All pores connected to the surface fill with resin. Consequently, the resin reinforces these fragile materials. Preparation artifacts such as pull-outs, cracks, or unopened porosity can be minimized. Only epoxy resins can be used for vacuum impregnation due to their low viscosity and low vapor pressure. A fluorescent dye can be mixed with epoxy to allow easy identification of all filled pores in fluorescent light. Position the specimen in the middle of the mounting cup and place it in the vacuum chamber. Close the lid and evacuate the chamber. Evacuation lasts a few minutes to make sure that no air is left in small pores and cracks. Open the valve to allow the epoxy to be sucked into the chamber. When the specimen is completely covered by the mounting media, close the valve and turn off the vacuum pump. Atmospheric pressure will press the epoxy inside the pores and cracks.

Acrylic Resins

Acrylics are easy-to-use resins with short curing times, very limited shrinkage, and excellent mounting properties. They are well-suited for both serial mounting of irregularly shaped specimens and for routine work or single specimens. Acrylics are available with and without a mineral filler. Dye can be used if color coding is needed. When mixing acrylic resins, it is recommended to add powder to the liquid (hardener) – this will result in the most uniform resin mixture.

Play

Selection of Mounting Cup

Cup material and size have to be taken into consideration.

Size
A cup large enough to allow 5.0 mm distance from the specimen to the edge of the final mount is needed to minimize the risk of radial cracks. A large cup, relative to the specimen size, will cause the generation of excessive amounts of heat which can damage the specimen. Shrinkage will also increase with a larger resin to specimen ratio.

Material
Epoxy hardener will affect silicone cups and reduce the lifetime and transparency of the mount. Selection of cup material for acrylic resins does not have the same restriction.

Mounting Process

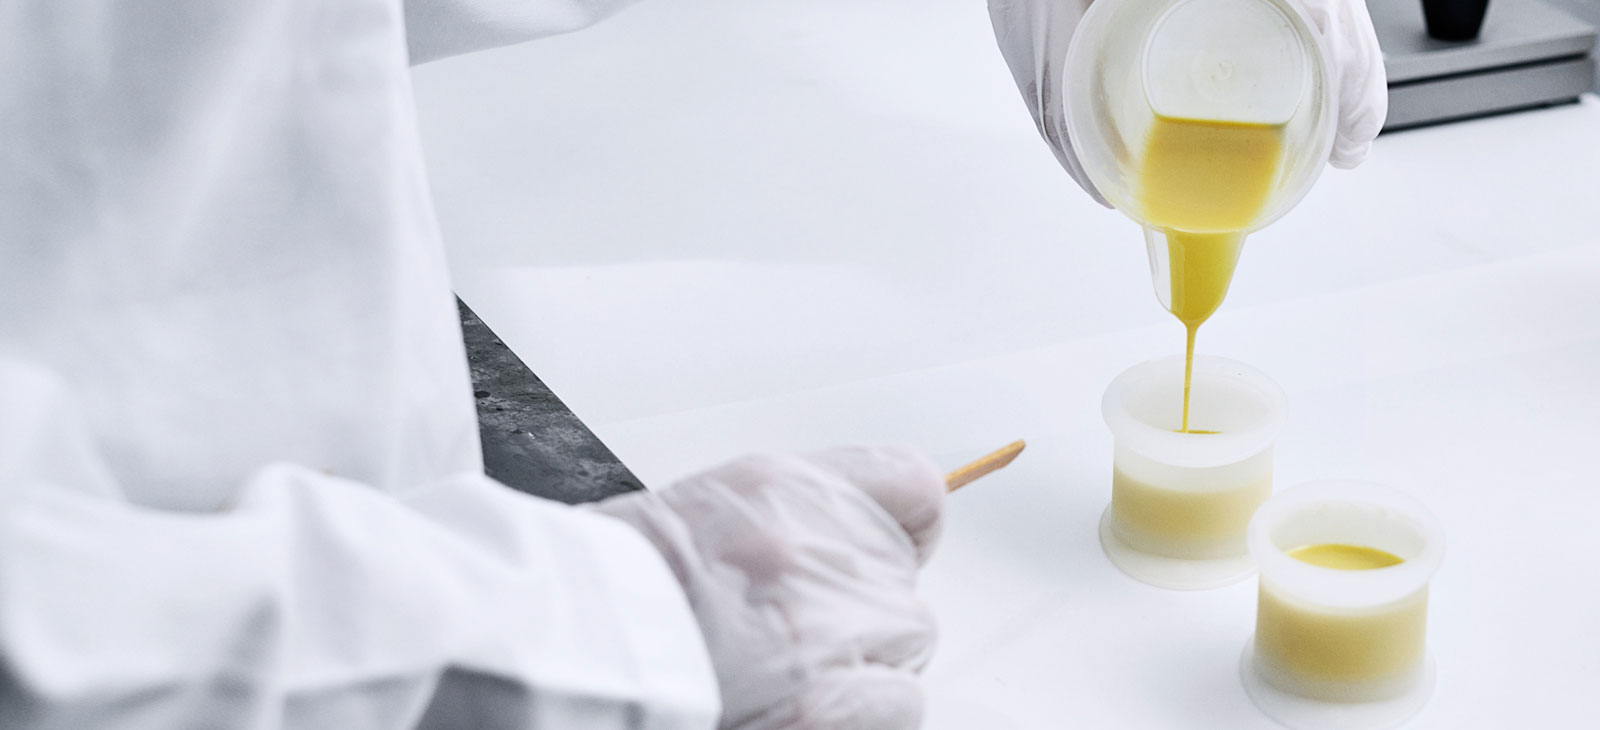
Choose a mounting cup and place the clean and dry specimen in it. Measure the correct amounts of resin components carefully by either volume or weight. Mix the components thoroughly, pour the resin-mixture over the specimen, and leave the filled mounting cups to cure. Mixing and curing times are important parameters in a high quality mount, and recommendations from the instruction manual should be followed.

Resistance to Common Chemicals

All cold-mounting medias are resistant to common etchants. Some cold-mounting medias react with organic solvents like acetone, alcohol, etc.

Fixation of Specimen

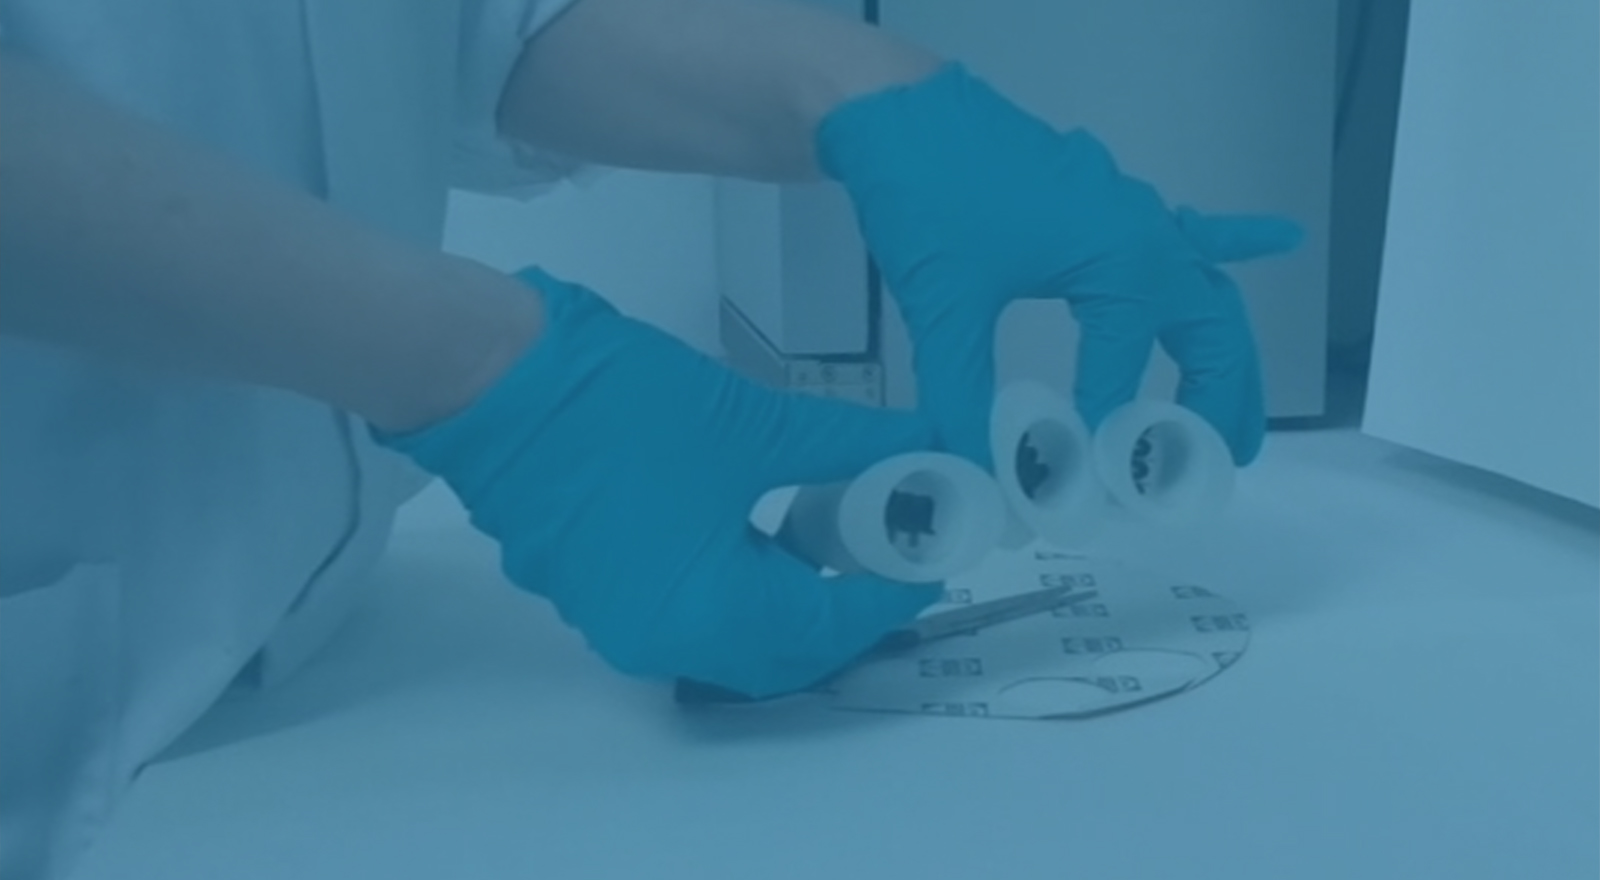
Fixation clips (metal or plastic) ensure that thin plates, foils, and wires remain upright. Double adhesive foil can be used to keep irregularly shaped specimens upright. Liquid adhesives may react with some types of cold mounting media. Specimens too small to be fixed by a clip (e.g. some electronic components) can be held in a vertical position during embedding by cementing them to the bottom of the mold with a trace of fast-drying glue.

Play

Selection of Resin / Selection Guide

The choice of resin/mounting media is important in order to obtain the required result and fulfill the mounting requirements.

The purpose of this guide is to give detailed information, hints, and tricks about the various cold mounting materials. Go to Cold Mounting Selection Guide

Guide to Cold Mounting materials

Troubleshooting - cold mounting, epoxies

Problem

Air Bubbles along the Sides of the Specimen
Show More
Cause
The temperature is too high during the curing.

Solution:
Set the specimen in a dryer unit or other place with good air convection to lower the exposure temperature. Alternatively, mount in layers of around 60 ml mounting resin at a time (depending on the material), wait until the first layer is hardened, and then mount the next layer.
Cause:
Insufficient degreasing of specimens.

Solution:
Clean and degrease the specimens prior to mounting.
Cause:
The stirring of the mixture was too active.

Solution:
Stir without introducing air into the mixture.
Cause:
Surface tension.

Solution:
If possible, move the specimen after the epoxy was poured over it.
Discoloration
Show More
Cause:
The temperature is too high during the curing.

Solution:
Set the specimen in a dryer unit or other place with good air convection.
Cause:
Large volume of resin compared to the sample size.

Solution:
Use an adequate mounting cup or set the specimen in a dryer unit or other place with good air convection to remove the heat created during curing.
Sticky or Rubbery Surface
Show More
Cause:
The curing temperature is too low.

Solution:
Insert the specimens for post curing in a dryer unit or oven at 30-50° C/86-122° F.
Cause:
Too short curing time. 

Solution:
Insert specimens for post curing in a dryer unit or oven at 30-50°C/86-122°F.
Cause:
There is too much curing agent in relation to the resin.

Solution:
Mix the resin and curing agent in the correct ratio.
High Shrinkage
Show More
Cause:
The temperature is too high during the curing.

Solution:
Set the mounting cup in a dryer unit or other place with good air convection.
Cause:
Insufficient degreasing of specimens.

Solution:
Clean and degrease the specimens prior to mounting.
Cause:
Insufficient mixing of resin and curing agent.

Solution:
Stir the mixture thoroughly for two to three minutes.
Cause:
There is a large volume of resin compared to the specimen size.

Solution:
Use an adequate mounting cup or set the specimen in a dryer unit or other place with good air convection to remove the heat created during curing.
Cause:
Too large volume of mixture or too long time after stirring.

Solution:
Mix smaller volumes and pour over the specimens immediately after stirring. 
Indraft/Suction at the Bottom of the Specimen
Show More
Cause:
The temperature is too high during the curing.

Solution:
Set the mounting cup in a dryer unit or other place with good air convection.
Cause:
There is a large volume of resin compared to the specimen size.

Solution:
Use an adequate mounting cup or set the mounting cup in a dryer unit or other place with good air convection to remove the heat created during curing. Alternatively, mount in layers of around 60 ml mounting resin at a time (depending on the material), wait until the first layer is hardened, and then mount the next layer.
Many Air Bubbles
Show More
Cause:
The temperature is too high during the curing.

Solution:
Set the mounting cup in a dryer unit or other place with good air convection.
Cause:
The stirring of the mixture was too active.

Solution:
Stir without introducing air into the mixture.
Cause:
There is a large volume of resin compared to the specimen size.

Solution:
Use an adequate mounting cup or set the mounting cup in a dryer unit or other place with good air convection to remove the heat created during curing.
Cause:
There is too large a volume of mixture or too long a waiting time after stirring.

Solution:
Mix smaller volumes and pour over the specimen immediately after stirring.
No Adhesion between Epoxy and Specimen
Show More
Cause:
The temperature is too high during the curing.

Solution:
Set the mounting cup in a dryer unit or other place with good air convection.
Cause:
Insufficient degreasing of specimens.

Solution:
Clean and degrease the specimens prior to mounting.
Cause:
There is a large volume of resin compared to the specimen size.

Solution:
Use an adequate mounting cup or set the mounting cup in a dryer unit or other place with good air convection to remove the heat created during curing.
Cause:
There is too much curing agent in relation to the resin.

Solution:
Mix the resin and curing agent in the correct ratio.

Troubleshooting - Cold Mounting, Acrylic

Problem

Air Bubbles along the Sides of the Sample
Show More
Cause:
Insufficient degreasing of specimens.

Solution:
Clean and degrease the specimens prior to mounting.
Cause:
Surface tension.

Solution:
If possible, move the specimen after the resin was poured over it.
Cause:
The stirring of the mixture was too active.

Solution:
Stir without introducing air.
Greasy Surface
Show More
Cause:
Insufficient mixing of powder and liquid.

Solution:
Stir thoroughly for a minimum of 30 seconds.
Cause:
Too much liquid in relation to powder.

Solution:
Mix the powder and liquid in the correct ratio.
Many Air Bubbles
Show More
Cause:
The stirring of the mixture was too active.

Solution:
Stir without introducing air.
No Adhesion between Resin and Sample
Show More
Cause:
Insufficient degreasing of specimens.

Solution:
Clean and degrease the specimens prior to mounting.
Rubber-like Surface When the Mount Has Cooled Down
Show More
Cause:
Too much liquid in relation to powder.

Solution:
Mix the powder and liquid in the correct ratio.
CitoVac Consumables

Looking for consumables?

Order your consumables directly from our e-Shop.

Go to consumables in e-shop

Contact us!

icon-arrow