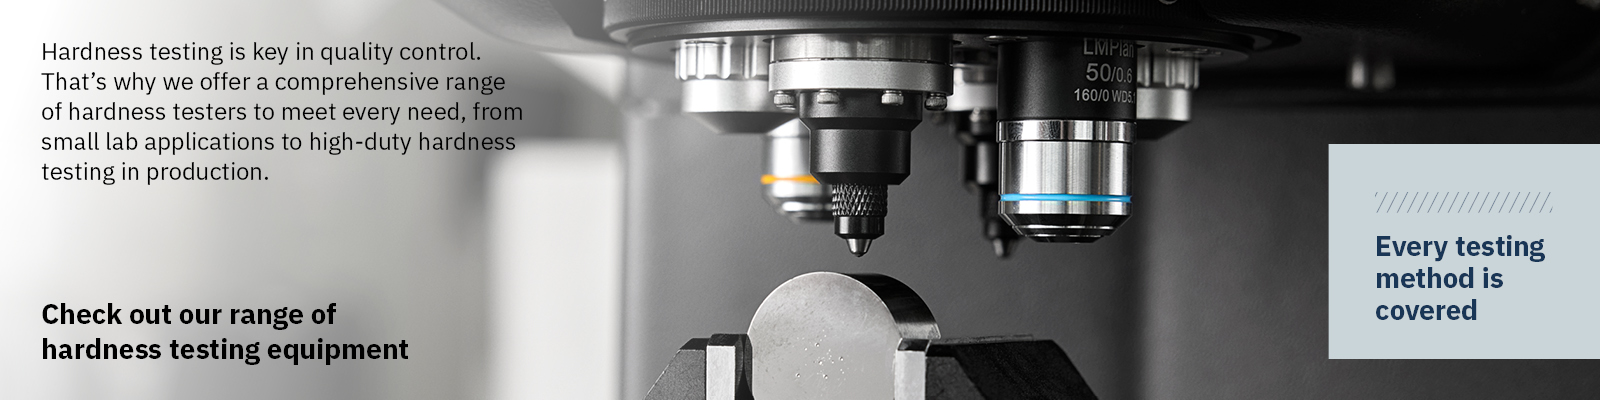
Hardness tester iso standard methods

HARDNESS TESTING

Explore the world of hardness testing, where you can learn about the principles of hardness testing for metals and materials, including industry standards, theoretical background, the main hardness testing methods, and practical application tips.

Whether you are a professional in hardness testing or just starting out, you'll find useful resources, including free downloads of posters and application notes, as well as access to webinars, to support your testing and material analysis needs.

To delve deeper into the details of hardness testing, explore our comprehensive Hardness Tester brochure for more information.

Download brochure

What is the definition of hardness testing?

The application of hardness testing enables you to evaluate a material’s properties, such as strength, ductility and wear resistance, and so helps you determine whether a material or material treatment is suitable for the purpose you require.

The definition of hardness testing is ‘a test to determine the resistance a material exhibits to permanent deformation by penetration of another harder material.’ However, hardness is not a fundamental property of a material. Therefore, when drawing conclusions of a hardness test, you should always evaluate the quantitative value in relation to:
  • The given load on the indenter
  • A specific loading time profile and a specific load duration
  • A specific indenter geometry

How does a hardness test work?

A hardness test is typically performed by pressing a specifically dimensioned and loaded object (indenter) into the surface of the material you are testing. The hardness is determined by measuring the depth of indenter penetration or by measuring the size of the impression left by an indenter.
  • Hardness tests that measure the depth of indenter penetration include: Rockwell, Instrumented Indentation Testing, and Ball Indentation Hardness
  • Hardness tests that measure the size of the impression left by the indenter include: Vickers, Knoop, and Brinell

WE UNDERSTAND YOUR HARDNESS TESTING CHALLENGES

Verifying your material using the right hardness testing process is essential to ensure consistent product quality and stay within regulatory values. That is why you need to be sure of a perfect result, every time, with a solution that meets your needs for speed and accuracy.

It is important to understand the your challenges and what you want to achieve with your hardness testing to find the best solution for you:

Throughput and speed challenge
Show More
Labs can struggle to meet throughput demands, requiring better ways to test more samples in a shorter timeframe. Our latest generation of hardness testing machines are designed to streamline your process with greater accuracy, faster autofocus, wider load ranges, higher levels of automation, easier reporting, and more.
Reproducibility challenge
Show More
It is crucial to be able to reproduce your hardness testing process, so you always get the same accurate results even if your operators are not highly trained. To achieve this, not only do you need the right equipment, but it must also be set up and calibrated correctly to provide the data you require, such as light, contrast, focus, method, and other crucial factors.
Accurate measurements challenge
Show More
To comply with ISO and ASTM, your hardness testing process must deliver reliable results. Errors can have serious consequences, such as production stops and product recalls, and could even damage your brand name. This means you need to ensure that your process meets your specific needs and utilizes the correct testing method.
Documentation challenge
Show More
Not only is it essential to have detailed documentation of your results for internal audits and quality control, but it is also a legal requirement to obtain ISO and ASTM certifications. The proper testing solution will enable you to create, record, and share documentation in standard formats and in any language.
Complex samples challenge
Show More
Not every sample will be conveniently straight, small, and flat; often, you will need to work with irregular shapes, new materials or samples that require a specific hardness testing process. This can make your process slow or your results inconsistent, which is why it is best to consult a specialist who can guide your choices and help you adapt your process to new or complex materials.
Hardness Testers portfolio

SELECTING THE RIGHT HARDNESS TEST METHOD

How to select the test method

The hardness test you choose should be determined by the microstructure – e.g. the homogeneity – of the material you are testing, as well as the type of material, the size of the part and its condition.

In all hardness tests, the material under the indent should be representative of the whole microstructure (unless you attempting to ascertain the different constituents in the microstructure). Therefore, if a microstructure is very coarse and heterogeneous, you need a larger impression than for a homogeneous material.

There are four main hardness tests, each with their own set of benefits and requirements. There are different standards for these tests, which explain the procedures and application of the hardness test in detail.

When selecting a hardness test method, important considerations include:
  • The type of material to be hardness tested
  • Whether compliance with a standard is required
  • The approximate hardness of the material
  • The homogeneity/heterogeneity of the material
  • The size of the part
  • The number of samples to be tested

The four most common indentation hardness tests

Rockwell

The Rockwell hardness test

Rockwell is a fast hardness test method developed for production control, with a direct readout, mainly used for metallic materials. The Rockwell hardness (HR) is calculated by measuring the depth of an indent after an indenter has been forced into the specimen material at a given load.

  • Generally used for larger sample geometries
  • A ‘quick test’ mainly used for metallic materials
  • Can be used for advanced tests, such as the Jominy (end quench) test (HRC)

Vickers

The Vickers hardness test

Vickers is a hardness test for all solid materials, including metallic materials. The Vickers Hardness (HV) is calculated by measuring the diagonal lengths of an indent in the sample material left by introducing a diamond pyramid indenter with a given load. The diagonals of the indent are measured optically in order to determine the hardness, using a table or formula.

  • Used for hardness testing of all solid materials, including metallic materials
  • Suitable for a wide range of applications
  • Includes a sub-group of hardness testing of welds

Knoop

The Knoop hardness test

Knoop (HK) is an alternative to the Vickers test in the micro hardness testing range. It is mainly used to overcome cracking in brittle materials, as well as to facilitate the hardness testing of thin layers. The indenter is an asymmetrical pyramidal diamond, and the indent is measured by optically measuring the long diagonal.

  • Used for hard and brittle materials, such as ceramics
  • Suitable for small elongated areas, such as coatings

Brinell

The Brinell hardness test

The Brinell hardness test is used for hardness testing larger samples in materials with a coarse or inhomogeneous grain structure. The Brinell hardness test (HBW) indentation leaves a relatively large impression, using a tungsten carbide ball. The size of the indent is read optically.

  • Used for materials with a coarse or inhomogeneous grain structure
  • Used for larger samples
  • Suitable for forgings and castings where the structural elements are large

HOW TO ENSURE ACCURACY AND REPEATABILITY IN HARDNESS TESTING

The correct application of hardness testing requires careful preparation and execution. However, once you have the basics in place, most hardness tests offer good accuracy and repeatability.

Factors that influence hardness testing

A number of factors influence hardness tests results. As a general rule, the lower the load you use in the hardness test, the more factors that need to be controlled to ensure an accurate conclusion of the hardness test.

Here are a few of the most important factors to consider to ensure an accurate conclusion from a hardness test.
  • External factors such as light, dirt, vibrations, temperature, and humidity should be controlled
  • The tester and stage should be secured on a solid horizontal table, and the sample should be clamped or held in a holder or anvil
  • The indenter should be perpendicular to the tested surface
  • Illumination settings should be constant during the test when using Vickers, Knoop, or Brinell
  • The tester should be recalibrated/verified every time you change the indenter or objective lens

Optimize your quality control

DEFINITION OF HARDNESS TESTING LOADS

Officially, hardness testing loads are expressed in Newton (N). However, historically, loads were expressed in kilogram-force (kgf), gram-force (gf), or pond (p). The correlation between kgf, kp, and N is: 1.0 kgf = 1,000 gf = 1.0 kp = 9.81 N.
  • The term micro hardness testing is usually used when indentation loads are below or equal to 1 kgf
  • The term macro hardness testing is used when loads are higher than 1 kgf

If standards permit, use the highest possible load/force for largest indent to ensure the most accurate results.

The loads used by each of the four methods for hardness testing of metallic materials comply with the different ISO and ASTM standards.

HARDNESS TESTING METHOD STANDARD LOAD RANGE
VICKERS

ISO 6507
ASTM E384
ASTM E92

1 gf - > 100 kgf
1 gf - ≤ 1 kgf
> 1 gf - ≤ 120 kgf

(0.00981 - > 980.7 N)
(0.0098 - ≤ 9.807 N)
(> 9.807 - ≤ 1176.800 N)

KNOOP

ISO 4545
ASTM E384

1 gf - 1 kgf
1 gf - 1 kgf

(0.0098 - ≤ 9.807 N)

BRINELL

ISO 6506
ASTM E10

1 kgf - 3000 kgf
1 kgf - 3000 kgf

(9.807 - 29420 N)
(9.807 - 29420 N)

ROCKWELL

ISO 6508
ASTM E18

15 kgf - 150 kgf
15 kgf - 150 kgf

(147.1 - 1471 N)
(147.1 - 1471 N)


Download an overview of above
MAN Energy using Struers Hardness Testing machine

Hardness Tester increases efficiency

MAN Energy Solutions, one of the world’s leading suppliers of marine industry engines, wanted to boost the efficiency of hardness testing of thermal spray-coated cast iron parts. The solution was to automate hardness testing with a Struers hardness tester.

The result was a faster and more efficient process performed on one machine.

Product: Hardness Tester Duramin-40
Company: MAN Energy Solutions
Challenge: Efficiently hardness test thermal spray-coated cast iron parts.
Results: A faster and more efficient process performed on one machine.

Be inspired

DOWNLOADS AND WEBINARS

Explore our collection of resources focused on hardness testing. Download free, informative posters about hardness testing for quick guidance in the lab or workspace, and access recorded webinars from application specialists.

These materials are designed to support both foundational learning and advanced application, ensuring you have the information you need at your convenience.
Hardness tester posters from Struers

Posters

At present we have three different posters about hardness testing – all suitable for any lab. Download all posters now.

Hardness Conversion

Hardness Comparison

Metallic materials

Hardness tester webinars at Struers

Webinars

Upgrade your preparation skills and watch our recorded webinars with our application specialists about hardness testing.

Visual Analysis Inspection & Maintenance

Calibration & Certification Requirements

Sample Preparation and Parameters Influencing Results

Hardness Testers portfolio

TROUBLESHOOTING FOR HARDNESS TESTS

Common problems:

Problem scenario 1:
It can be difficult to obtain plane-parallel surfaces during preparation for the hardness test. Also, the indenter should be perpendicular to the test surface. For the Vickers hardness test, the measured diagonals should not deviate more than 5.0% from each other. For the Knoop hardness test, the two halves of the long diagonals must not differ by more than 10.0% from each other.
See Solution
If the deviation is not due to anisotropy in the material, the best solution is to use a fixture to hold the specimen so that the indenter penetrates the surface perpendicularly. If no fixture is available, make sure the mechanical preparation of the specimen gives you plane-parallel end surfaces.
Problem scenario 2:
If the surface finish of a specimen is too rough, it might be hard to evaluate the corners of an indent, especially if automatic equipment is used. Scratches from preparation may cause a misreading of the indent size when using automatic hardness testing.
See Solution
Use a polished surface. Surface preparation requirements depend of the applied load and hardness of the material: the softer the material, the better the polish that is required. Find a suitable preparation method for the material using our metalogram.
Problem scenario 3:
If the specimen is not properly cleaned after mechanical preparation and you perform an optical reading of the hardness test, an automatic reading might result in a misinterpretation of the corners of the indent.
See Solution
Always ensure that the specimens are cleaned properly before performing the hardness test, otherwise contaminants from the polishing cloth (dirt or fibers, for example) might complicate the reading.
Problem scenario 4:
For a heavily etched sample, it might be difficult to evaluate the corners of an indent, which may lead to a less accurate conclusion of the hardness test.
See Solution
Etching should be avoided as far as possible, because it results in a less reflective surface. If etching is necessary, a light etch is preferable, so that it will be possible to discriminate the corners of the indent. Sometimes it can be necessary to etch when evaluating a weld, for example.
Problem scenario 5:
The hardness appears greater than expected.
See Solution
Check the rules for proper indent spacing for the intended hardness test. If the hardness indentations are too close to each other, strain hardening can appear.

Application specialists

The fast track to expert knowledge

Contact us!

icon-arrow