Hardness Testing Advice for Foundries
 1400 degrees - is the temperature of the foundry at MAT Dania when Sara Christensen, Struers visited the foundry.
Foundries, in particular, rely heavily on rigorous testing methodologies to ascertain the quality and durability of metallic components. Among the array of techniques employed are two prominent hardness test methods, Rockwell and Brinell. These emerge as the primary tools in evaluating either cast iron or aluminium for measuring the material's ability to withstand applied force without causing significant deformation or damage. While Rockwell assessments offer rapid results with cast iron, typically within 10 seconds, Brinell tests are preferred for their ability to accurately gauge the hardness of larger aluminium/ aluminium alloy samples, particularly when the material is characterised by a coarse or heterogeneous grain structure.
Rockwell is quick and relatively low cost method for Cast Iron, providing an instant image ready for analysis and no need for optical measurement. The Rockwell hardness is calculated by measuring the depth of an indent, after an indenter has been forced into the specimen material at a given load.
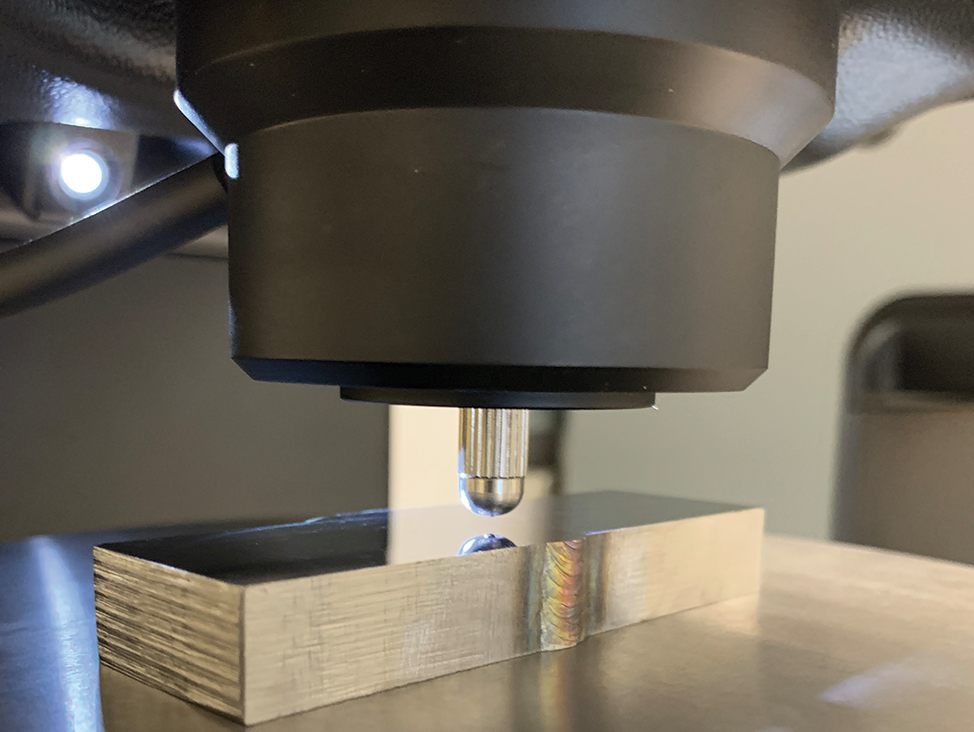
 Moments before an unmounted sample has a Rockwell hardness test performed.
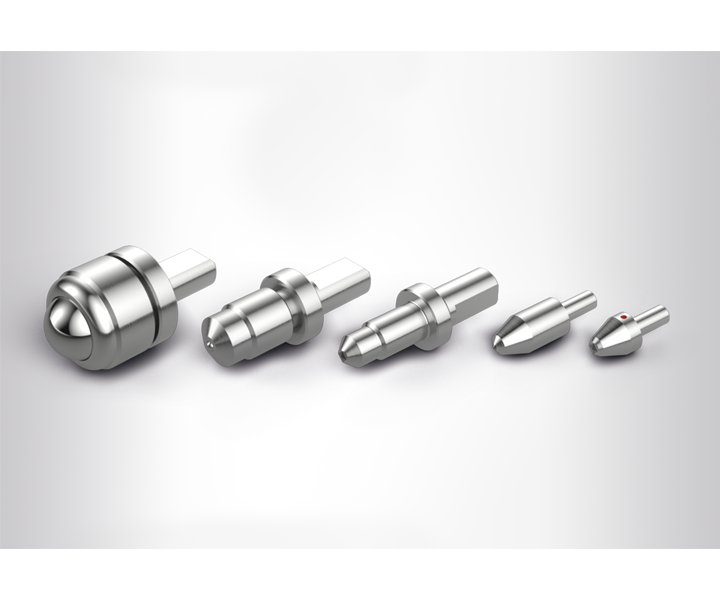
The indenter material is a conical diamond or sintered carbide ball, depending on the scale being used. Generally, the tested material should not be mounted in resin because the Rockwell test uses the motion of the indenter to measure the hardness and not the indentation area. Rockwell tests are not sensitive to surface preparation as other hardness testing methods as the depth of penetration is measures and no optical measure of the geometry of the indent is performed. However, it is important that a sample is clean and smooth using the above methods. If the surface is too rough with scratches or dirt it may cause a misreading of the indent size, a solution is to ensure samples are cleaned properly.
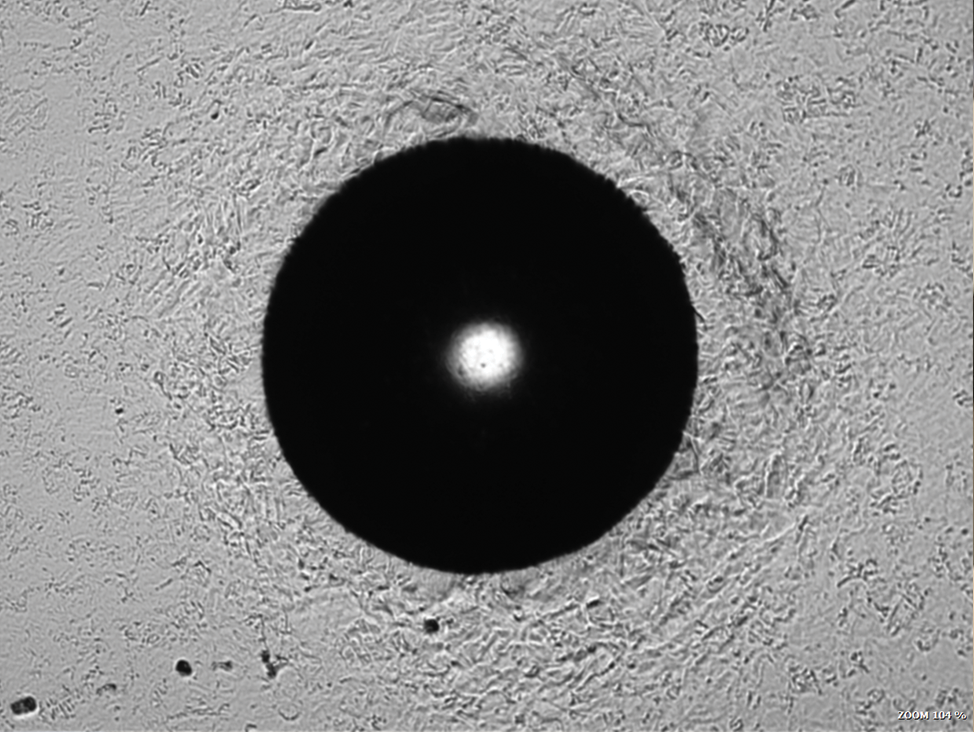
 Fig 1. Rockwell test, the areas near the indent show where the sample is deformed (pushed) by the indent itself and this is why you should always refer to the standards required to space out indents.
When performing a Rockwell test a minor preload is applied before the main load is put on and unloaded. The readout of the hardness value is performed while the minor pre-load is still applied. The Rockwell hardness test utilises 1 of 6 different main loads of 15 kgf, 30 kgf, 45 kgf, 60 kgf, 100 kgf, or 150 kgf. This gives 30 different Rockwell scales. Each one is characterised by a different combination of indenter type and main load and is suitable for certain materials or applications. Depending on which standard adhered to there can be ISO 15 or even ASTM 30 methods.
 Fig 2. See the measurements taken during a Rockwell hardness test
There are two types of Rockwell tests: regular Rockwell and Superficial. Regular methods where the minor load is 10 kgf, the major load is 60, 100 or 150 kgf and is classified by a letter system which uses the letters A to H and K. Superficial Rockwell, is used for thinner specimens where the minor load is 3 kgf and major loads are 15, 30 or 45 kgf, the classification uses the letters N,T, W,X and Y this gives combinations as for example: 15T, 30N and 45Y. Generally, the tested material should not be mounted in resin because the Rockwell test uses the motion of the indenter to measure the hardness and not the indentation area.
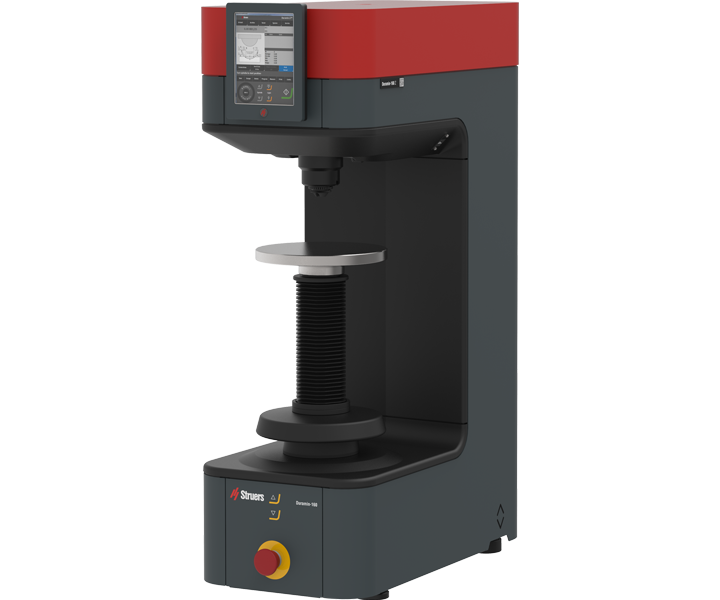
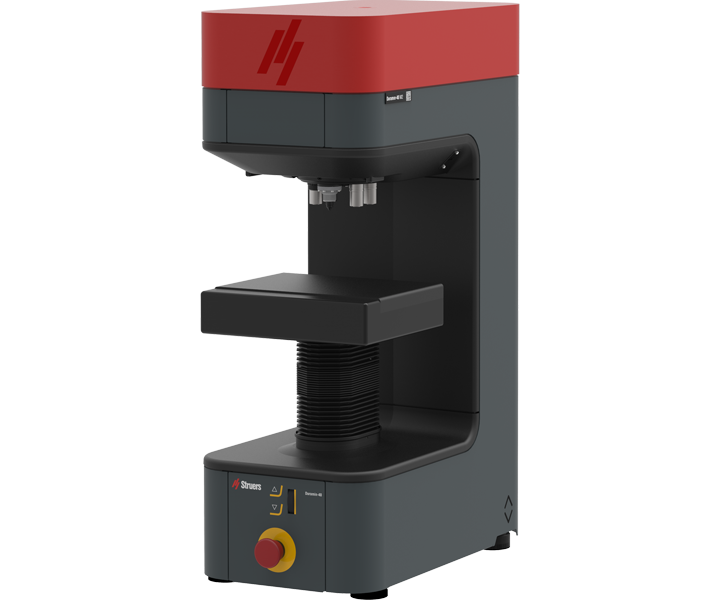
Struers Duramin-160 provides immediate Rockwell results. High-precision load cell technology means that Duramin-160 delivers even higher precision than required by standards. It is operated via an integrated touchscreen and can have a motorised Z-axis. The equipment is suitable for various sample sizes and shapes. Duramin-160 can be used for more advanced tests for example the Jominy test. All Struers hardness testers can be supported by our experienced service team ensuring the equipment is optimised.
Struers Rockwell application advice


